Set up BackupVision360
The three Get started steps - choose storage (your own or locked BackupVision360 storage), connect Microsoft 365 or a cloud account, and create a protection policy.
Online version, always current: https://cloudvision360.com/docs/guides/set-up-backupvision360/
BackupVision360 backs up Microsoft 365, servers, laptops and cloud resources to storage you choose, with restores that a second person approves. A new organization opens on a Get started card with three steps. You need the owner or admin role. Each step’s How to link opens its section of this guide.
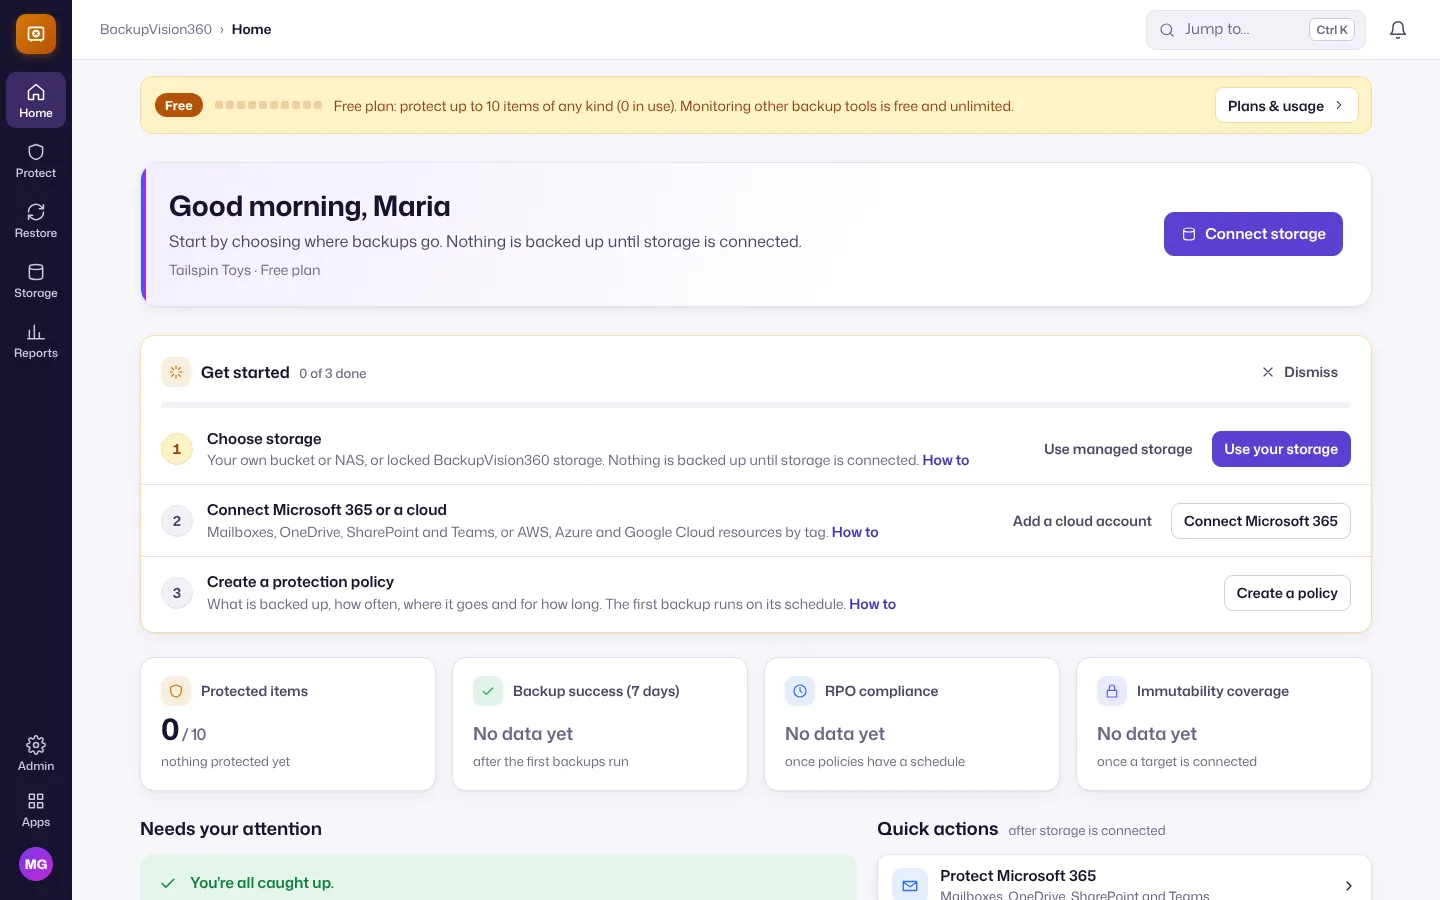
Choose storage
Nothing is backed up until storage is connected. Pick one (you can add more later).
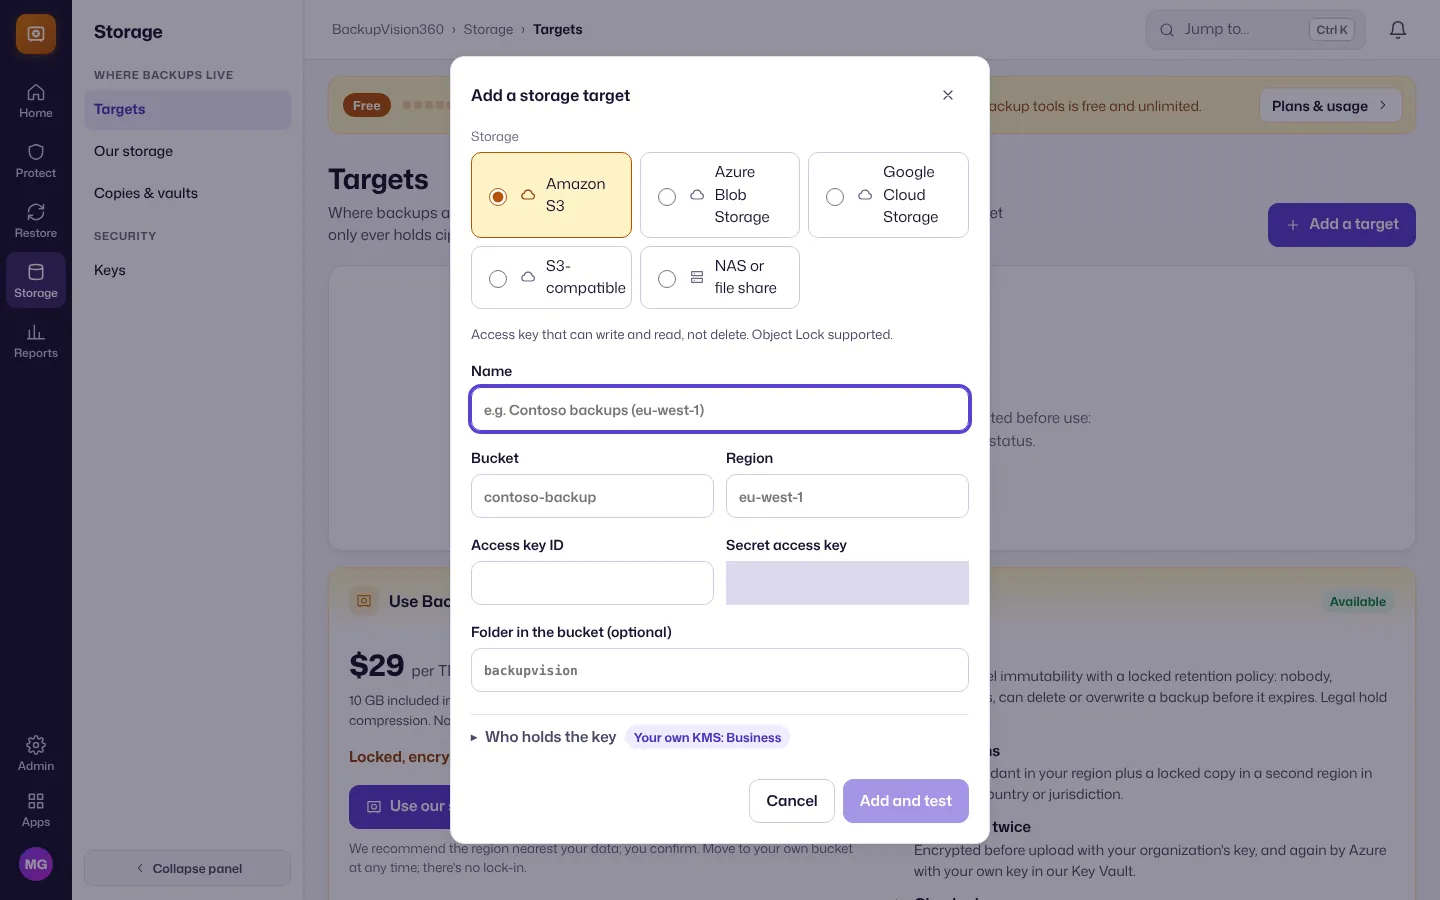
Your own storage (a bucket or a NAS you already pay for):
- Choose Use your storage (or Storage → Targets → Add a target).
- Pick the kind: Amazon S3, Azure Blob Storage, Google Cloud Storage, S3-compatible or NAS or file share.
- Enter a Name, the Bucket and Region, and an access key that can write and read, not delete (use Object Lock where your storage has it). Optionally a Folder in the bucket, and under Who holds the key whether BackupVision360 or your own KMS key encrypts it.
- Choose Add and test. The target is used only if the test writes, reads and checks a file.
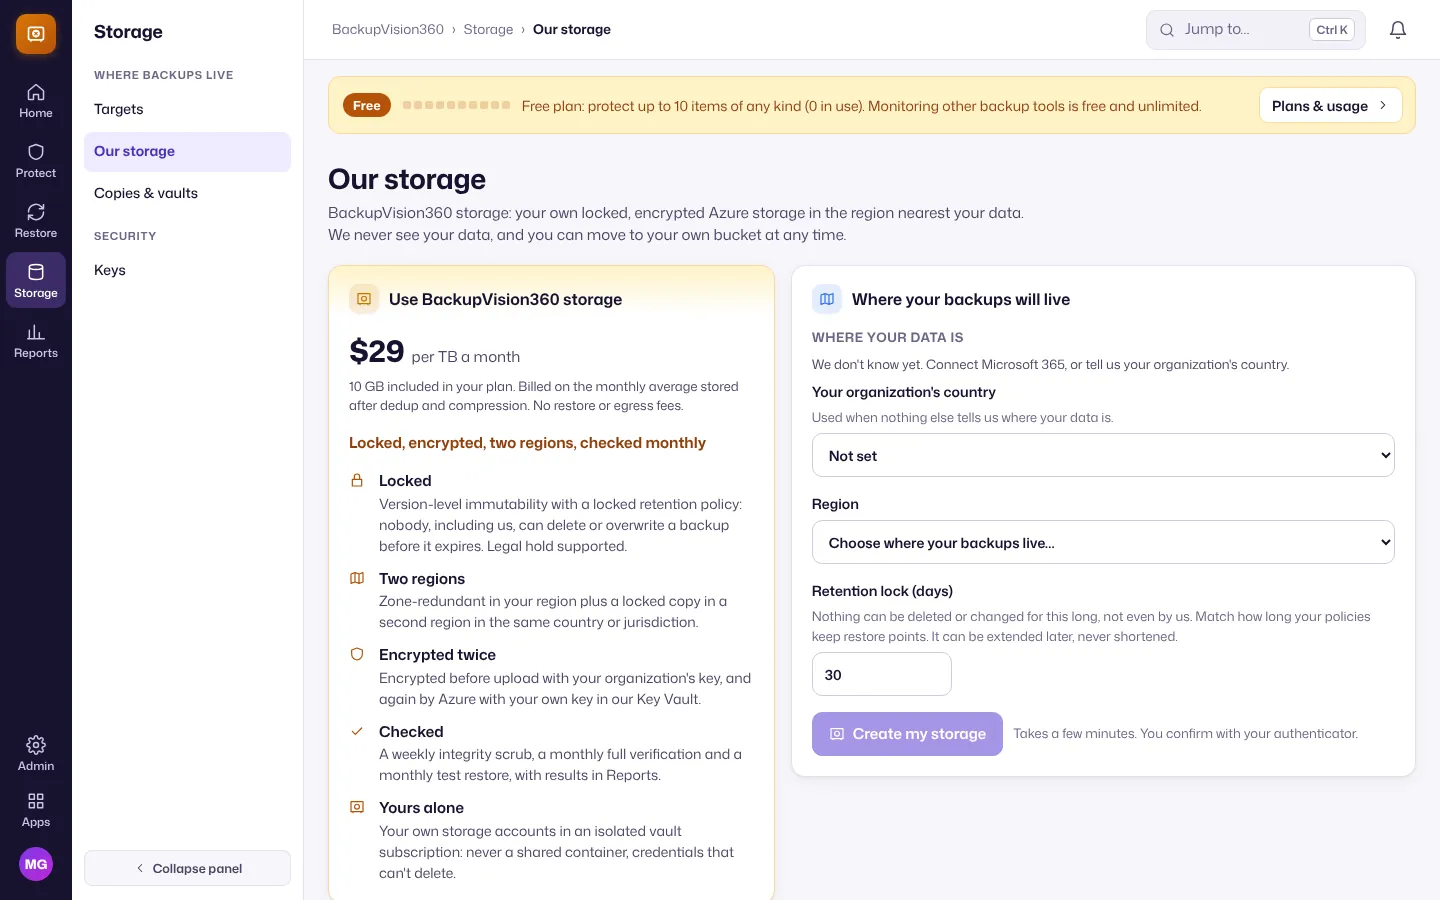
BackupVision360 storage (locked, encrypted, two regions, checked monthly; billed per terabyte):
- Choose Use managed storage (or Storage → Our storage).
- Under Where your backups will live, choose your organization’s country, the region and the Retention lock in days (backups can’t be deleted or changed during the lock, not even by us).
- Choose Create my storage and confirm with your authenticator.
Comparison and pricing: Storage.
Connect Microsoft 365 or a cloud
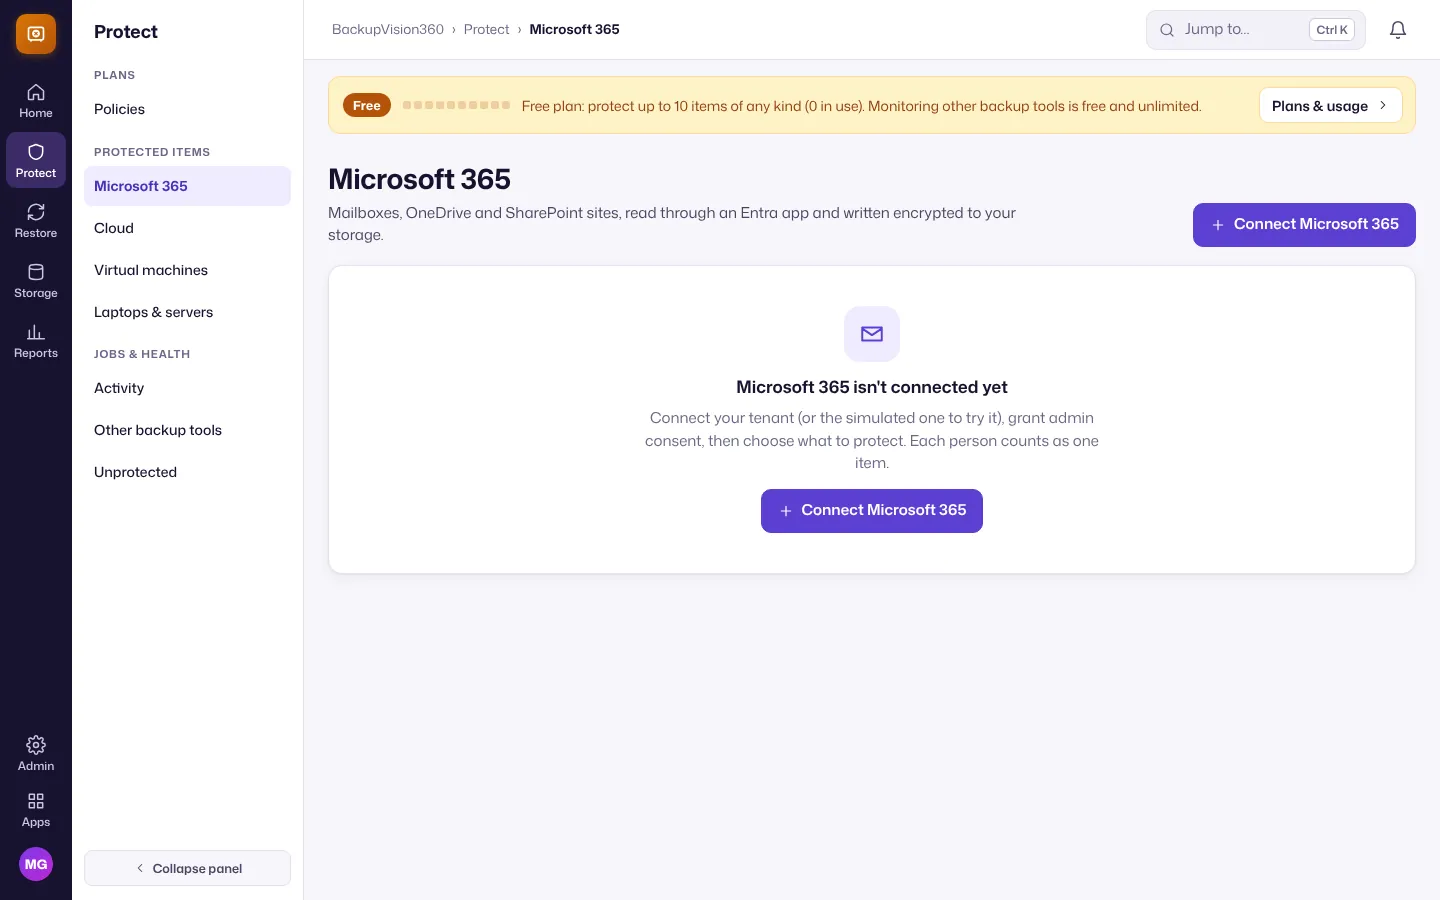
Microsoft 365 (mailboxes, OneDrive, SharePoint sites and Teams):
- Choose Connect Microsoft 365 (or Protect → Microsoft 365).
- An administrator grants admin consent to the BackupVision360 app (or your own app registration) in Microsoft Entra. It only reads.
- A Global Administrator or Privileged Role Administrator signs in once more and confirms the connection, which proves the tenant is yours.
- Choose Protect… and pick everyone or chosen people, shared mailboxes and sites. Each person counts as one item on your plan.
A cloud account (AWS, Azure or Google Cloud resources, chosen by tag):
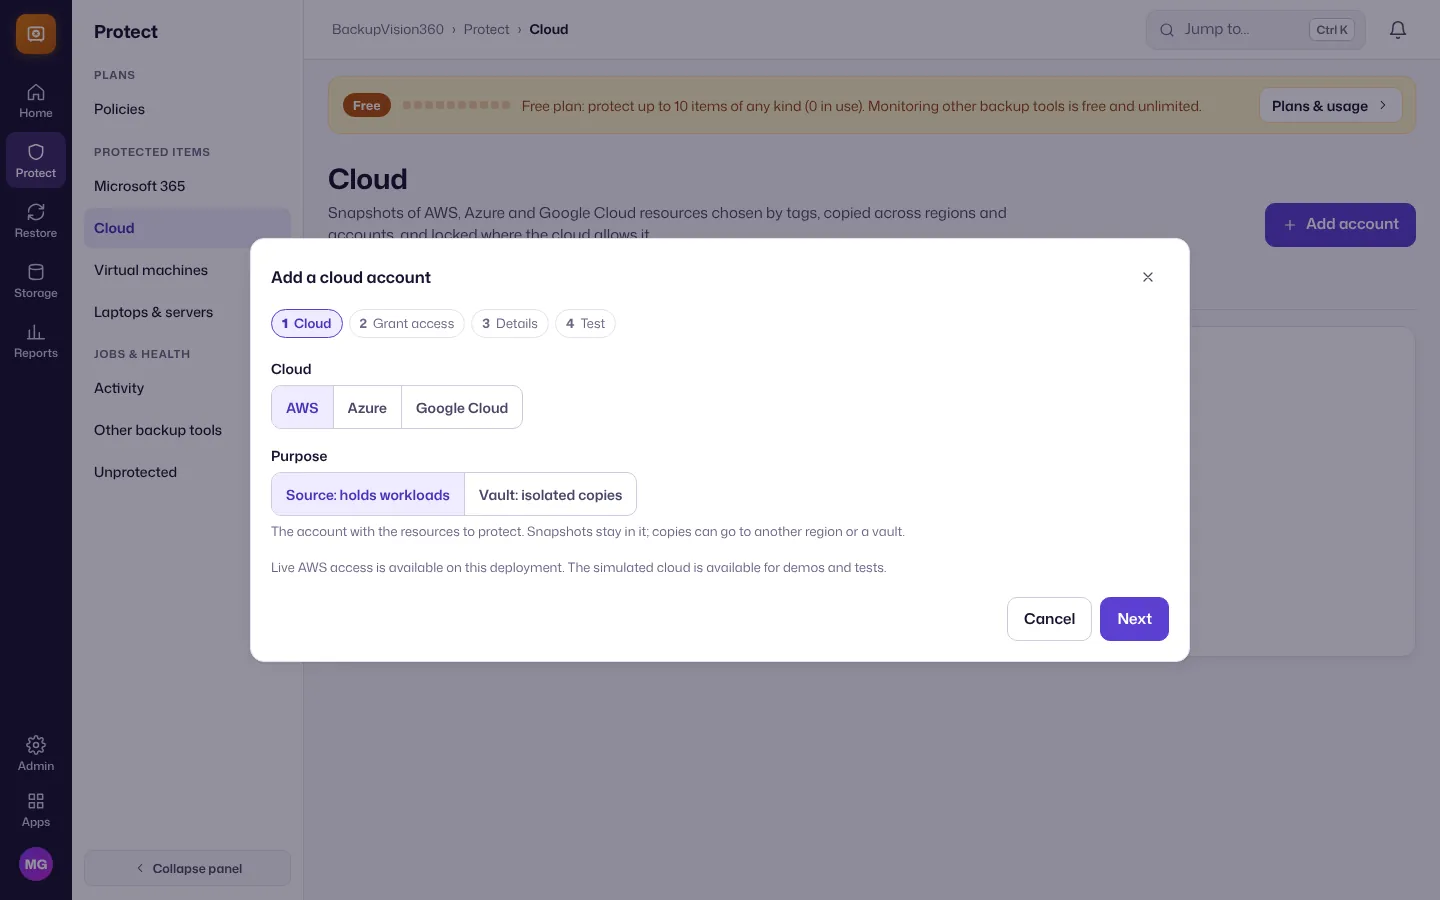
- Choose Add a cloud account (or Protect → Cloud → Add account).
- Pick the cloud and the Purpose: Source: holds workloads (the resources to protect) or Vault: isolated copies (a separate account that keeps copies out of reach). Follow the steps for access and details, then choose Next to finish.
Details: Microsoft 365 and Cloud snapshots.
Create a protection policy
A policy says what is backed up, how often, where it goes and for how long.
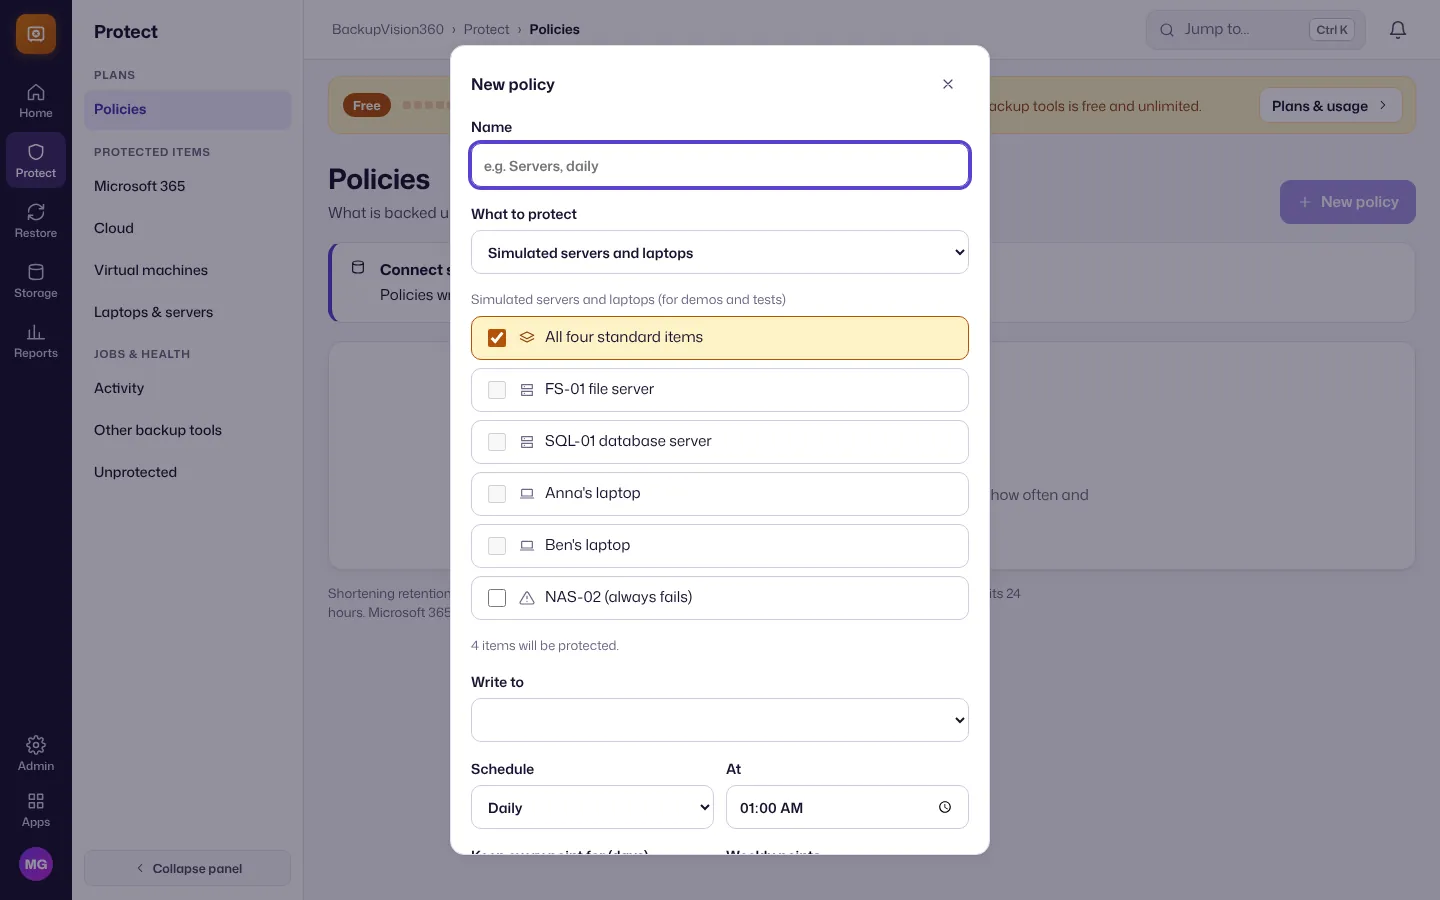
- Choose Create a policy (or Protect → Policies → New policy).
- Enter a Name (for example “Servers, daily”), choose What to protect and tick the items.
- Choose Write to (a storage target), the Schedule and time, and how long to keep backups.
- Choose Save policy. The first backup runs at the scheduled time.
When all three steps are done the card disappears. Restores and reports are in Use BackupVision360.